Monday, November 8, 2010
Friday, October 29, 2010
Question
How do you Upload a Brush onto Photoshop?
a) Open a New File
b) Drag the file onto Photoshop
c) Load Tool Preset
d) Load Brush
a) Open a New File
b) Drag the file onto Photoshop
c) Load Tool Preset
d) Load Brush
Wednesday, October 27, 2010
Wednesday, October 20, 2010
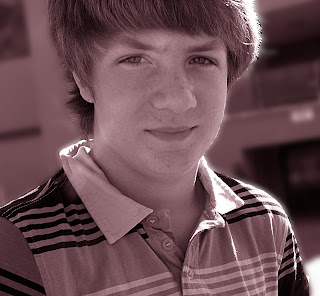
PhotoShop Make Over
In this photo i used my protocols to start off. After I was done with the protocols I used channel mixer and made the picture monochrome, i used dodge and burn tool on her eyes, i brightend the iris and darkend the pupal. I used surface blur to make the picture look more soft. I also used the clone stamp to fix the background and make more clear. I changed it to RGB then Saved as JPEG.
Tuesday, October 12, 2010
Fall Light
In this picture I used the Dodge tool to brighten up the bottom of the moutain without it looking to bright,
then I used grayscale and switched it to duotone. I then chose my duotone color, put the mode in an RGB and then I went to adding the leading lines. After the leading lines I then saved the picture as a JPEG.
then I used grayscale and switched it to duotone. I then chose my duotone color, put the mode in an RGB and then I went to adding the leading lines. After the leading lines I then saved the picture as a JPEG.
Tuesday, October 5, 2010
Rules Of Thirds October 5th
In these photo i used the protocals not much because the photo's didnt need that much editing.
I then used the marquee tool to make the lines.
Wednesday, September 22, 2010
Leading Lines September, 22nd
In this Picture I fixed the Contrast and fixed the color using brightness/contrast tool and the color correction tool, and i used the levels to fix the black becayse there wasnt enought of it. I used the dodge tool on the hand because it was a to bright. I used the unsharp mask and adjusted it just a little bit, When i used the gray scale, i then used the Duotone and put it with a greenish color. After that i made it an RGB and Flattened the picture then Saved as a JPG
Duotone, September, 22nd
In this photo i used Levels and adjusted te Range value because there was not enough white in the picture.
I adjusted the contract so it was a little brighter, i croped it taking out the un needed stuff. i then used Quick mask to blur out the background and used GrayScale and duotone i flattened the layers and made it a JPG
I adjusted the contract so it was a little brighter, i croped it taking out the un needed stuff. i then used Quick mask to blur out the background and used GrayScale and duotone i flattened the layers and made it a JPG
Layers, September, 22nd
In this photo I used the Color corection tool, Contrast tool and adjusted the contrast just a little bit,
I sharpened it by just a tiny bit, i brightend up the trees with the dodge and burn tool then i used Grayscale and duotone.
I sharpened it by just a tiny bit, i brightend up the trees with the dodge and burn tool then i used Grayscale and duotone.
Subscribe to:
Comments (Atom)


